


You will have many challenges in your first lesson with clay. How do you compose a design within a square or rectangle? What subject should you use for an impetus for your tile design? How can color enhance your design? How do you cut away and add clay to create a low-relief sculpture? How do you roll out a slab of clay?
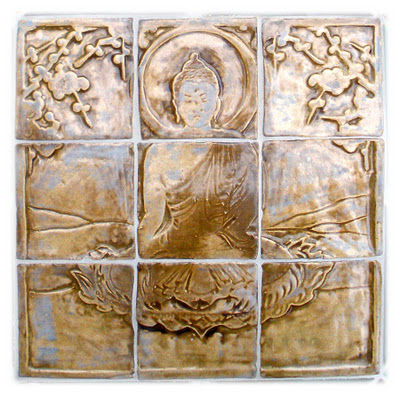
You will be required to create no less than 3 tiles. The examples above show tiles that are related to each other. The 3 tiles you create do not have to be related to each other (see examples below). One tile will be bas-relief and glazed, the other two will have different surface treatments. A thumbnail sketch is required before you begin working with the clay. In your thumbnail sketch you should write down the colors you will be using. Think about the negative and positive space as you try to create a balanced composition.
In relief sculpture you can cut the background away, add clay to the surface, or do both. In low-relief sculpture there is little depth and the objects/designs are close to the surface. Sometimes low-relief sculpture is called bas-relief. A coin is a great example of this.
When searching for inspiration do not copy a tile you see on the Internet. Look for images that inspire you, but don't duplicate that image, create a unique image. You can also use your surroundings for inspiration, trees, animals, mountains, roads...etc. Your tile can be based on something organic or not. Less complicated lines and shapes will work best with the medium. Your short-term goal is to have an idea designed in the next few classes. As students are ready to begin working with clay I will demonstrate the techniques and methods pertaining to the lesson.
You can view tiles created by Mrs. Monk's art classes at Monk's Art Class Blog
Below are examples found on the internet from random websites.
Below are examples found on the internet from random websites.

.jpg)

.jpg)
No comments:
Post a Comment