Designing for the Web
The movie below is a final flash project created by a student from a previous semester. In a few weeks you have been introduced to the very basics of what Flash can do. We have only scratched the service of what Flash is capable of. ActionScript was added to the file below. Action Script is a type of code added into keyframes to add action to the movie. For instance the action makes the movie start when you press the word "play". Go ahead and press play and see what happens.In your final flash project you will use the same script to start your own movies.

Friday, May 3, 2013
Tuesday, April 30, 2013
Pinch Pot Journal Entry
Ceramics

Complete the following journal entry when you have finished glazing all of your pinch pots.

Monday, April 29, 2013
Creating a Slide-Show in Flash
Designing for the Web
Now that you know how to create Shape, Motion, and Classic Tweens it is time to learn how to create a slide show in Flash. The images below are fading in and out by adjusting the "alpha" in the color effect area of the properties panel.
Begin by inserting your image to a layer (File-import image to stage), convert it to symbol-choosing movie clip for your option. Then insert a key-frame 10 frames down the timeline. Insert another keyframe on Frame 25. On frame 25 make the alpha 0. After doing this create a Classic Tween between frame 10 and 25. On a new layer insert a key-frame where the first picture begins to fade out (frame 10). Import a new image. Convert to symbol. On this frame the alpha will be 0. Insert a keyframe 15 frames down the timeline (frame 25). At this frame the alpha will be 100. Create a classic tween. Insert a keyframe 10 Frames down the timeline (frame 35). Insert another keyframe 15 frames down the timeline. At this frame the alpha will be 0. Create a classic tween between (frames 35-50). Repeat this process by inserting a key frame where the previous picture begins to fade out.
The final part of the slide show is fading the very first picture of the slide in where the last picture is fading out. This should create a smooth transition from beginning to end.
When creating a slide show you can speed up or slow down the transitions by putting fewer or greater frames in between the key-frames. There are many ways to make slide-shows, this is only one way to get you started.
Now create one of your own and place in the "Flash Intro" folder as an .swf when finished. Save as "lastnameslideshow"
Now that you know how to create Shape, Motion, and Classic Tweens it is time to learn how to create a slide show in Flash. The images below are fading in and out by adjusting the "alpha" in the color effect area of the properties panel.
Begin by inserting your image to a layer (File-import image to stage), convert it to symbol-choosing movie clip for your option. Then insert a key-frame 10 frames down the timeline. Insert another keyframe on Frame 25. On frame 25 make the alpha 0. After doing this create a Classic Tween between frame 10 and 25. On a new layer insert a key-frame where the first picture begins to fade out (frame 10). Import a new image. Convert to symbol. On this frame the alpha will be 0. Insert a keyframe 15 frames down the timeline (frame 25). At this frame the alpha will be 100. Create a classic tween. Insert a keyframe 10 Frames down the timeline (frame 35). Insert another keyframe 15 frames down the timeline. At this frame the alpha will be 0. Create a classic tween between (frames 35-50). Repeat this process by inserting a key frame where the previous picture begins to fade out.
The final part of the slide show is fading the very first picture of the slide in where the last picture is fading out. This should create a smooth transition from beginning to end.
When creating a slide show you can speed up or slow down the transitions by putting fewer or greater frames in between the key-frames. There are many ways to make slide-shows, this is only one way to get you started.
Now create one of your own and place in the "Flash Intro" folder as an .swf when finished. Save as "lastnameslideshow"
Wednesday, April 24, 2013
Calliope Submission
 |
| Emma N |
Tuesday, April 23, 2013
Inspiration is Everywhere
Intro Drawing and Painting
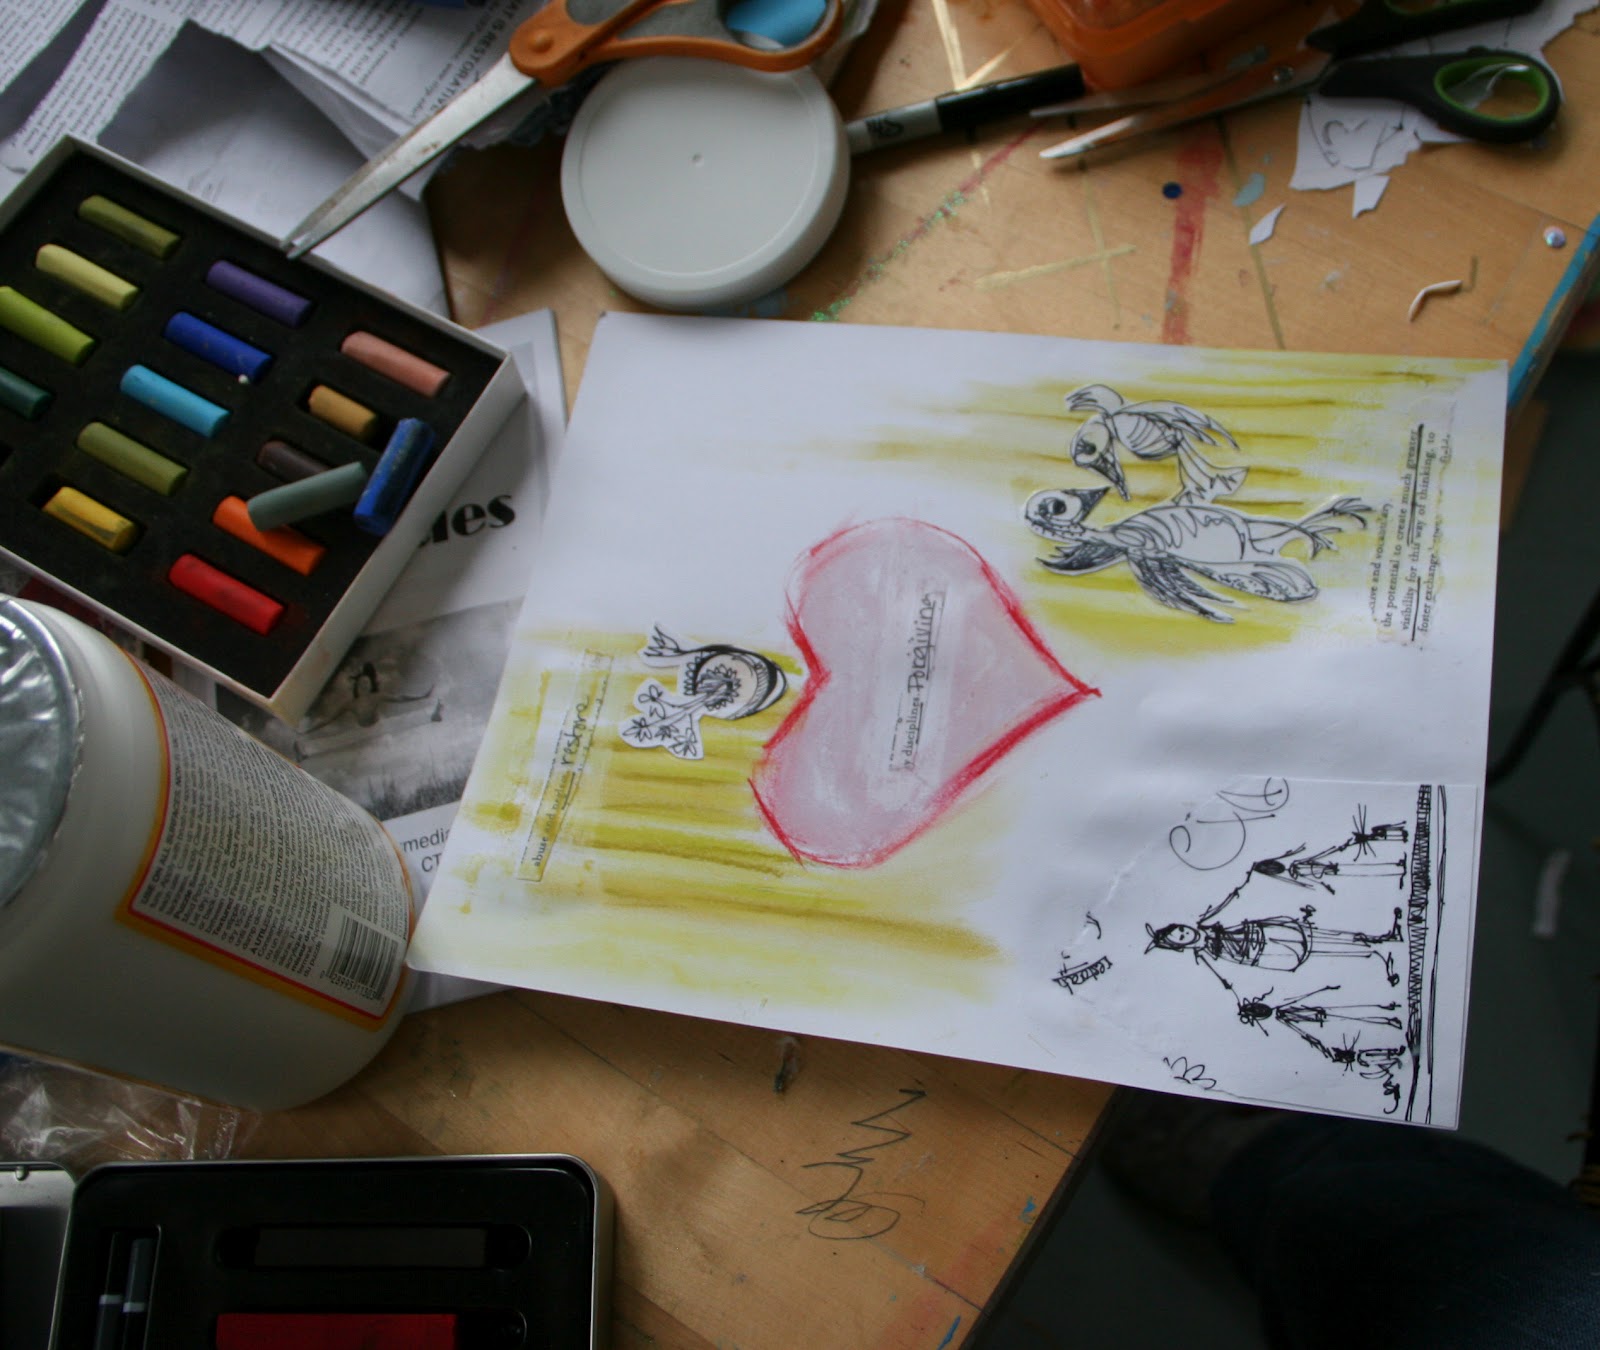
At a recent teacher workshop I was given a hand-out that contained a lot of information. As the speaker presented I was looking over the hand-out and spotted words that resonated with me. I underlined these words, drew designs around them, and began to doodle pictures that came to mind. My doodling helped me better understand what the speaker was trying to get across and I was inspired to create a collage. I first ripped and cut the words out from the hand-out then I used mod-podge (acrylic gel medium) to glue them to Bristol board. I then began to layer pastels, mixing them with mod-podge. The piece was spontaneous, like a doodle. Try this for a sketchbook assignment-you can add photographs, use marker, pastel, ink...etc. Over the next week think about words your hear or see…maybe you will be inspired by words in a song or during a lecture in school.
You will be creating a work of art that has a theme. The theme will be up to you. This piece should have colored pencil and/or pastel pencil, typed words, written words, pencil and/or ink. Photograph from a magazine. You should compose all the elements in your piece so that the eyes flow from one area to the next. How do you do this? Maybe the corner of one element points another. Or you can place similar colors around the piece so your eye jumps from place to another. MOVEMENT is an important principle of design. We want it in this piece. ALSO think about texture. How can words make texture? How does the use of different media create an interesting work of art? How do you create balance in this piece? Think about it, but not to much you want to have fun and let the creative juices flow.
You will be creating a work of art that has a theme. The theme will be up to you. This piece should have colored pencil and/or pastel pencil, typed words, written words, pencil and/or ink. Photograph from a magazine. You should compose all the elements in your piece so that the eyes flow from one area to the next. How do you do this? Maybe the corner of one element points another. Or you can place similar colors around the piece so your eye jumps from place to another. MOVEMENT is an important principle of design. We want it in this piece. ALSO think about texture. How can words make texture? How does the use of different media create an interesting work of art? How do you create balance in this piece? Think about it, but not to much you want to have fun and let the creative juices flow.
 |

A book I find inspirational is:
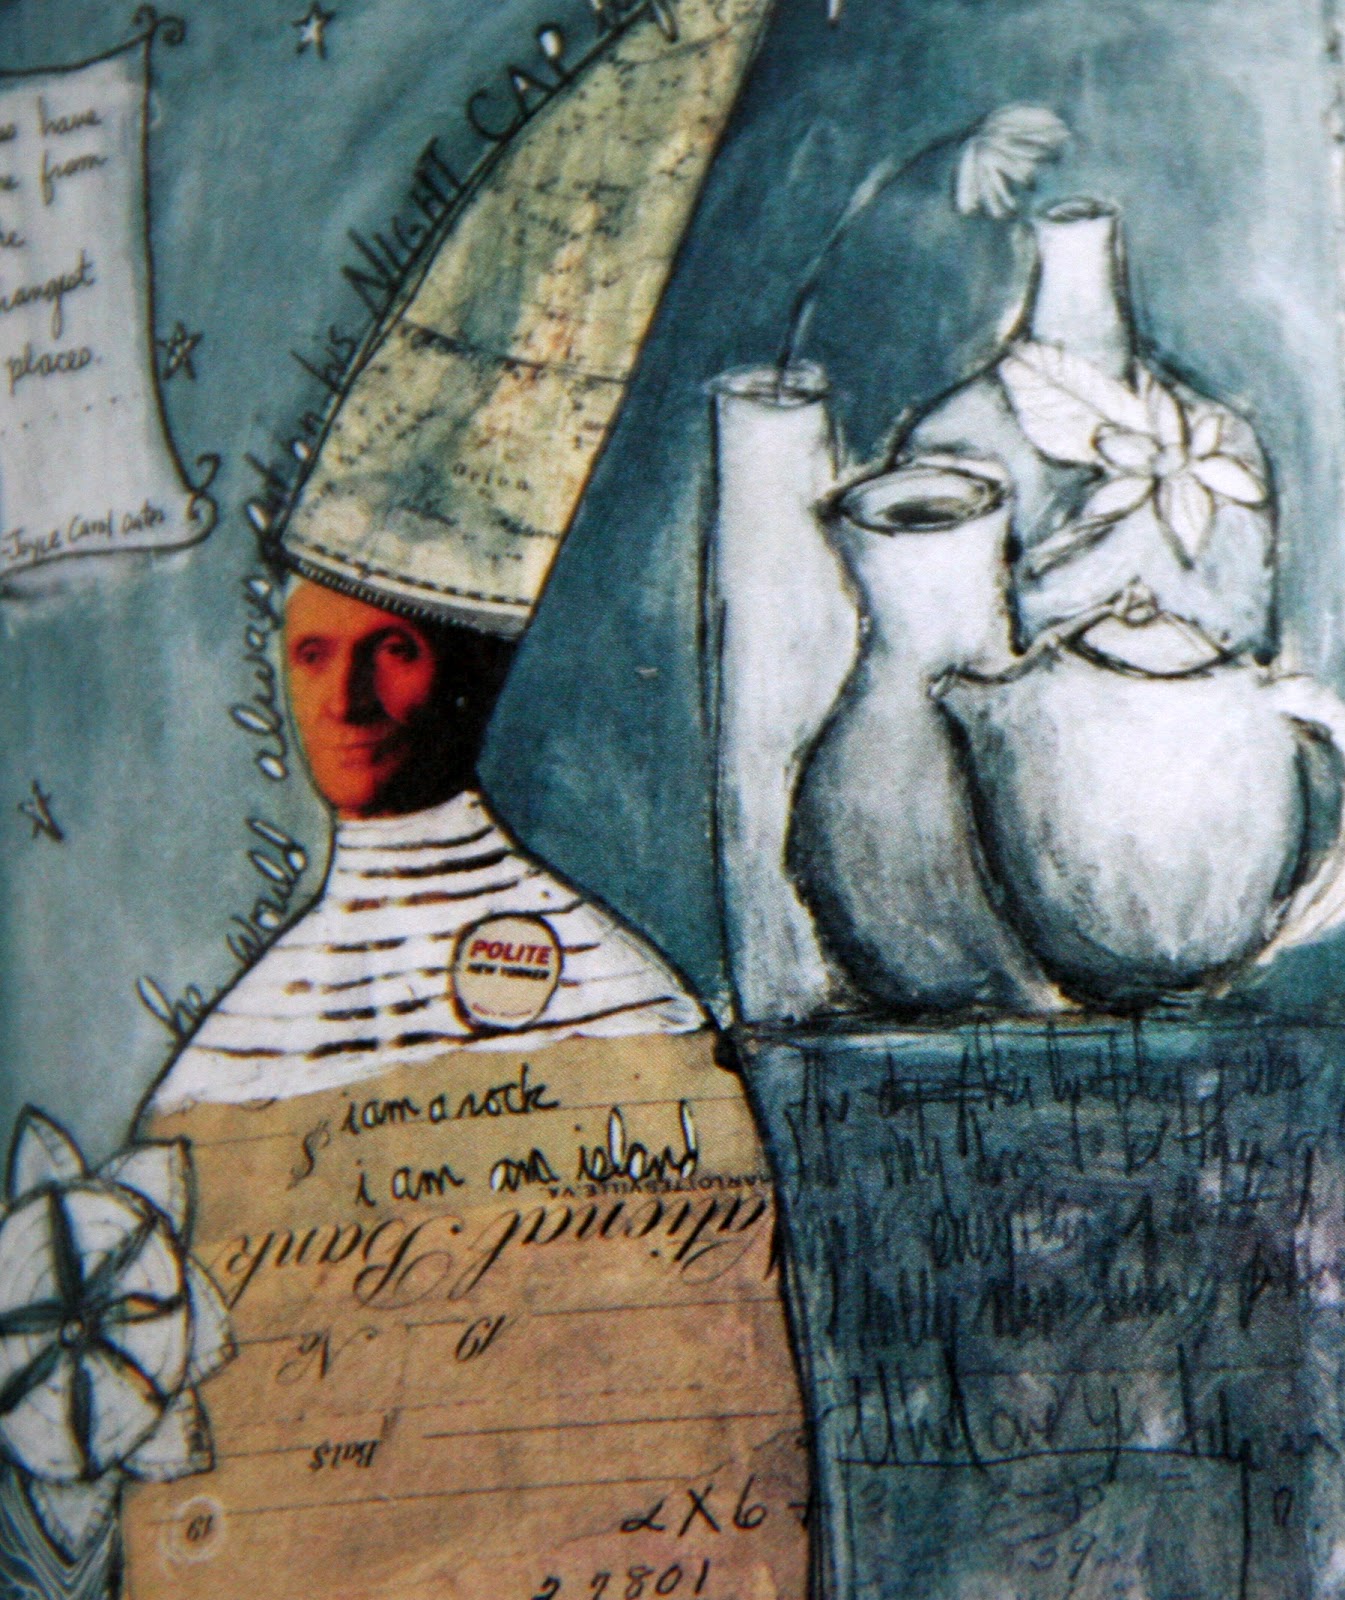
Unfurling, A Mixed-Media Workshop with Misty Mawn: Inspiration and Techniques for Self-Expression through Art. The collages below are examples of her work. Her work is multi-faceted and so much fun to look at. I especially enjoy the way she incorporates a still-life into this collage.

Monday, April 22, 2013
Creating a Box with Slabs
Intro to Ceramics
Your next project will be creating a "box" using the slab method. The challenge will be to measure all sides correctly and assemble the box having strong seams and right angles. You don't want your box to be crooked. The design will be totally up to you, but you must have texture, and feet on the box. Be creative think outside of the box!
 View the photos below for inspiration.
 The following assignments are due on May 1st.
1. For a sketchbook grade: Draw a detailed sketch of your concept from all sides (excluding bottom).
2. For a journal grade: Please view the following tutorials below and then right all the steps to create this project. Create a list of new vocabulary terms. Remember I will be using the Dialogue Rubric to grade all written lessons. Watch both videos & describe the difference.
Part 2 http://www.youtube.com/watch?v=nmwMvrrap9k (WITH BEVELING)
Part 5 http://www.youtube.com/watch?v=s1MK4S9Uy84
Another alternative, without beveling: http://www.youtube.com/watch?v=Dn55cIO8D2E
Another alternative, without beveling: http://www.youtube.com/watch?v=Dn55cIO8D2E


Shape Tweens!
Designing for the Web
When you create a shape tween you morph one shape into another. It is relatively easy and fun to make! Follow the guidelines in the shape tween lesson and you will be on your way to designing in Flash.
Subscribe to:
Posts (Atom)